Auto ISO Epic Fail, and Topaz to the Rescue
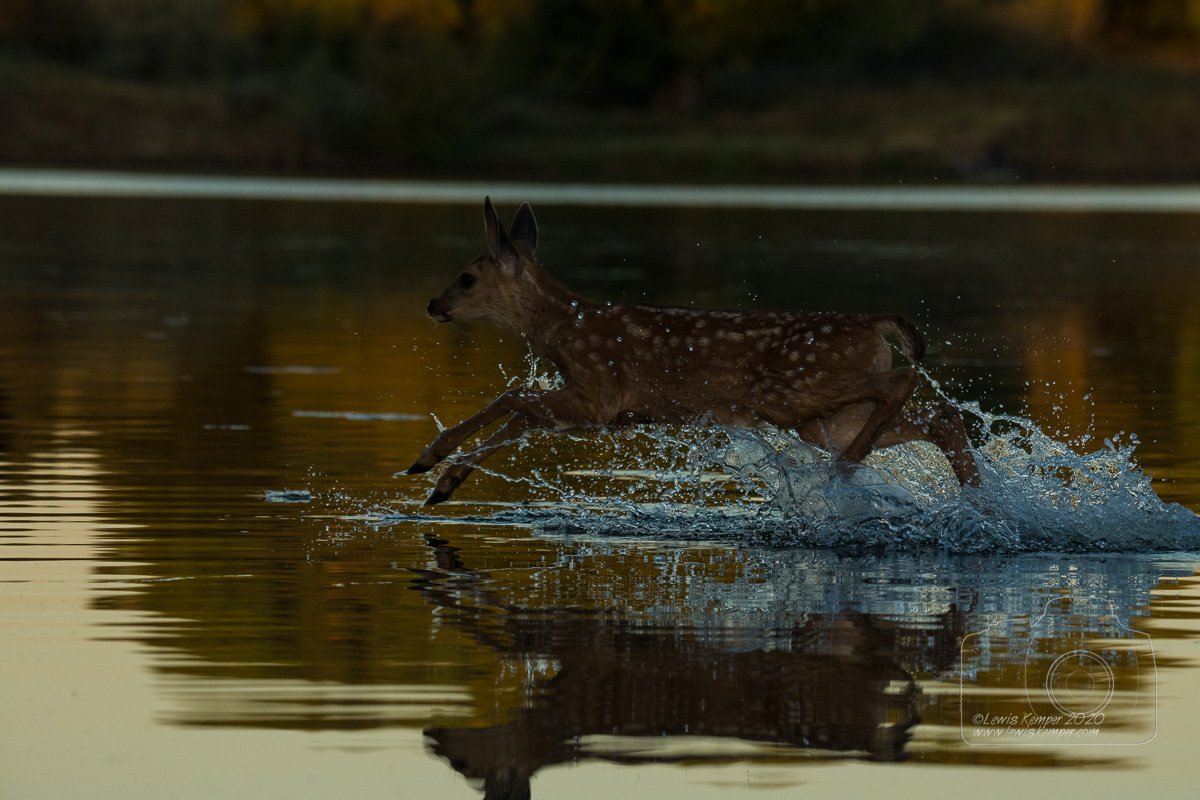
I am a big fan of auto ISO when photographing from my kayak, because there are many times, I don’t have time to make the in camera changes I want. Between split second action and the fact that I need to try and keep the kayak pointed in the correct location, auto ISO usually get me close enough to get a good picture without having to think too much about my exposures. But sometimes it fails. I was photographing some deer in the shade which required an exposure compensation of -1 1/3 stops, when suddenly a very young fawn bolted into the scene from my right, traveling quickly from shade to sun. My first photos of the fawn were perfect, as it too was in similar light to the deer I had been photographing.
But it quickly ran into a backlit situation and I was just following and shooting, twisting my body to keep on track with the fawn. There was no time to readjust the exposure compensation. When I got home and downloaded the images my favorites of the fawn splashing through the water were 2.37 stops underexposed.
Auto ISO set the ISO to 1250. When I raised the exposure in Lightroom the noise in the image became stronger than I like, and I also noticed the image was not as sharp as I wanted with my quick panning at a shutter speed of 1/640 sec.
I processed the image to my liking in Lightroom brightening up the water and darkening the background. Next I opened the image in Photoshop as a Smart Object and applied Topaz DeNoise Ai and Topaz Sharpen AI. This time when I hit Save it had a double meaning for me. Not only was it saving the file to my hard drive, but it also saved me from missing a great shot.
If you want to save 15% off these products use this link and then enter the coupon code LK15OFF during checkout. You need to follow this link to get the discount!
https://topazlabs.com/shop/ref/53/
Here is a video of my whole process.


